
Stories From the Cellar
How to Build Your Own Home Wine Cellar on a Budget
You don’t need a dedicated room or a luxury build. You need a smart plan.
The idea of a “wine cellar” sounds expensive, like you need a basement renovation, custom racks, and a temperature-controlled vault. In reality, most people can build a reliable home setup for a fraction of the cost.
Good wine storage isn’t about being fancy. It’s about being consistent.
This guide will help you create a practical, budget-friendly system that keeps bottles safe, stable, and ready when you are. Whether you’re storing 24 bottles or building toward 200 over time.
If you’re also trying to build a collection without the pressure, pair this with How to Build a Wine Collection Without Becoming a Snob. Storage is easier when your collection strategy is simple.
Step 1: Pick the Right Location
Your “cellar” can be a basement corner, closet, under-stairs space, or even a spare-room wall. The best location is one that stays steady and protected.
- Cool: ideally around 55-65°F (cooler and stable beats “perfect”)
- Dark: away from sunlight and bright fixtures
- Stable: minimal vibration and minimal temperature swings
- Away from heat: avoid kitchens, laundry rooms, and garage walls
If you’re cellaring bottles for years, not weeks, consistency matters more than precision. For a simple “drink now vs. cellar” framework, see Wine Aging Demystified.
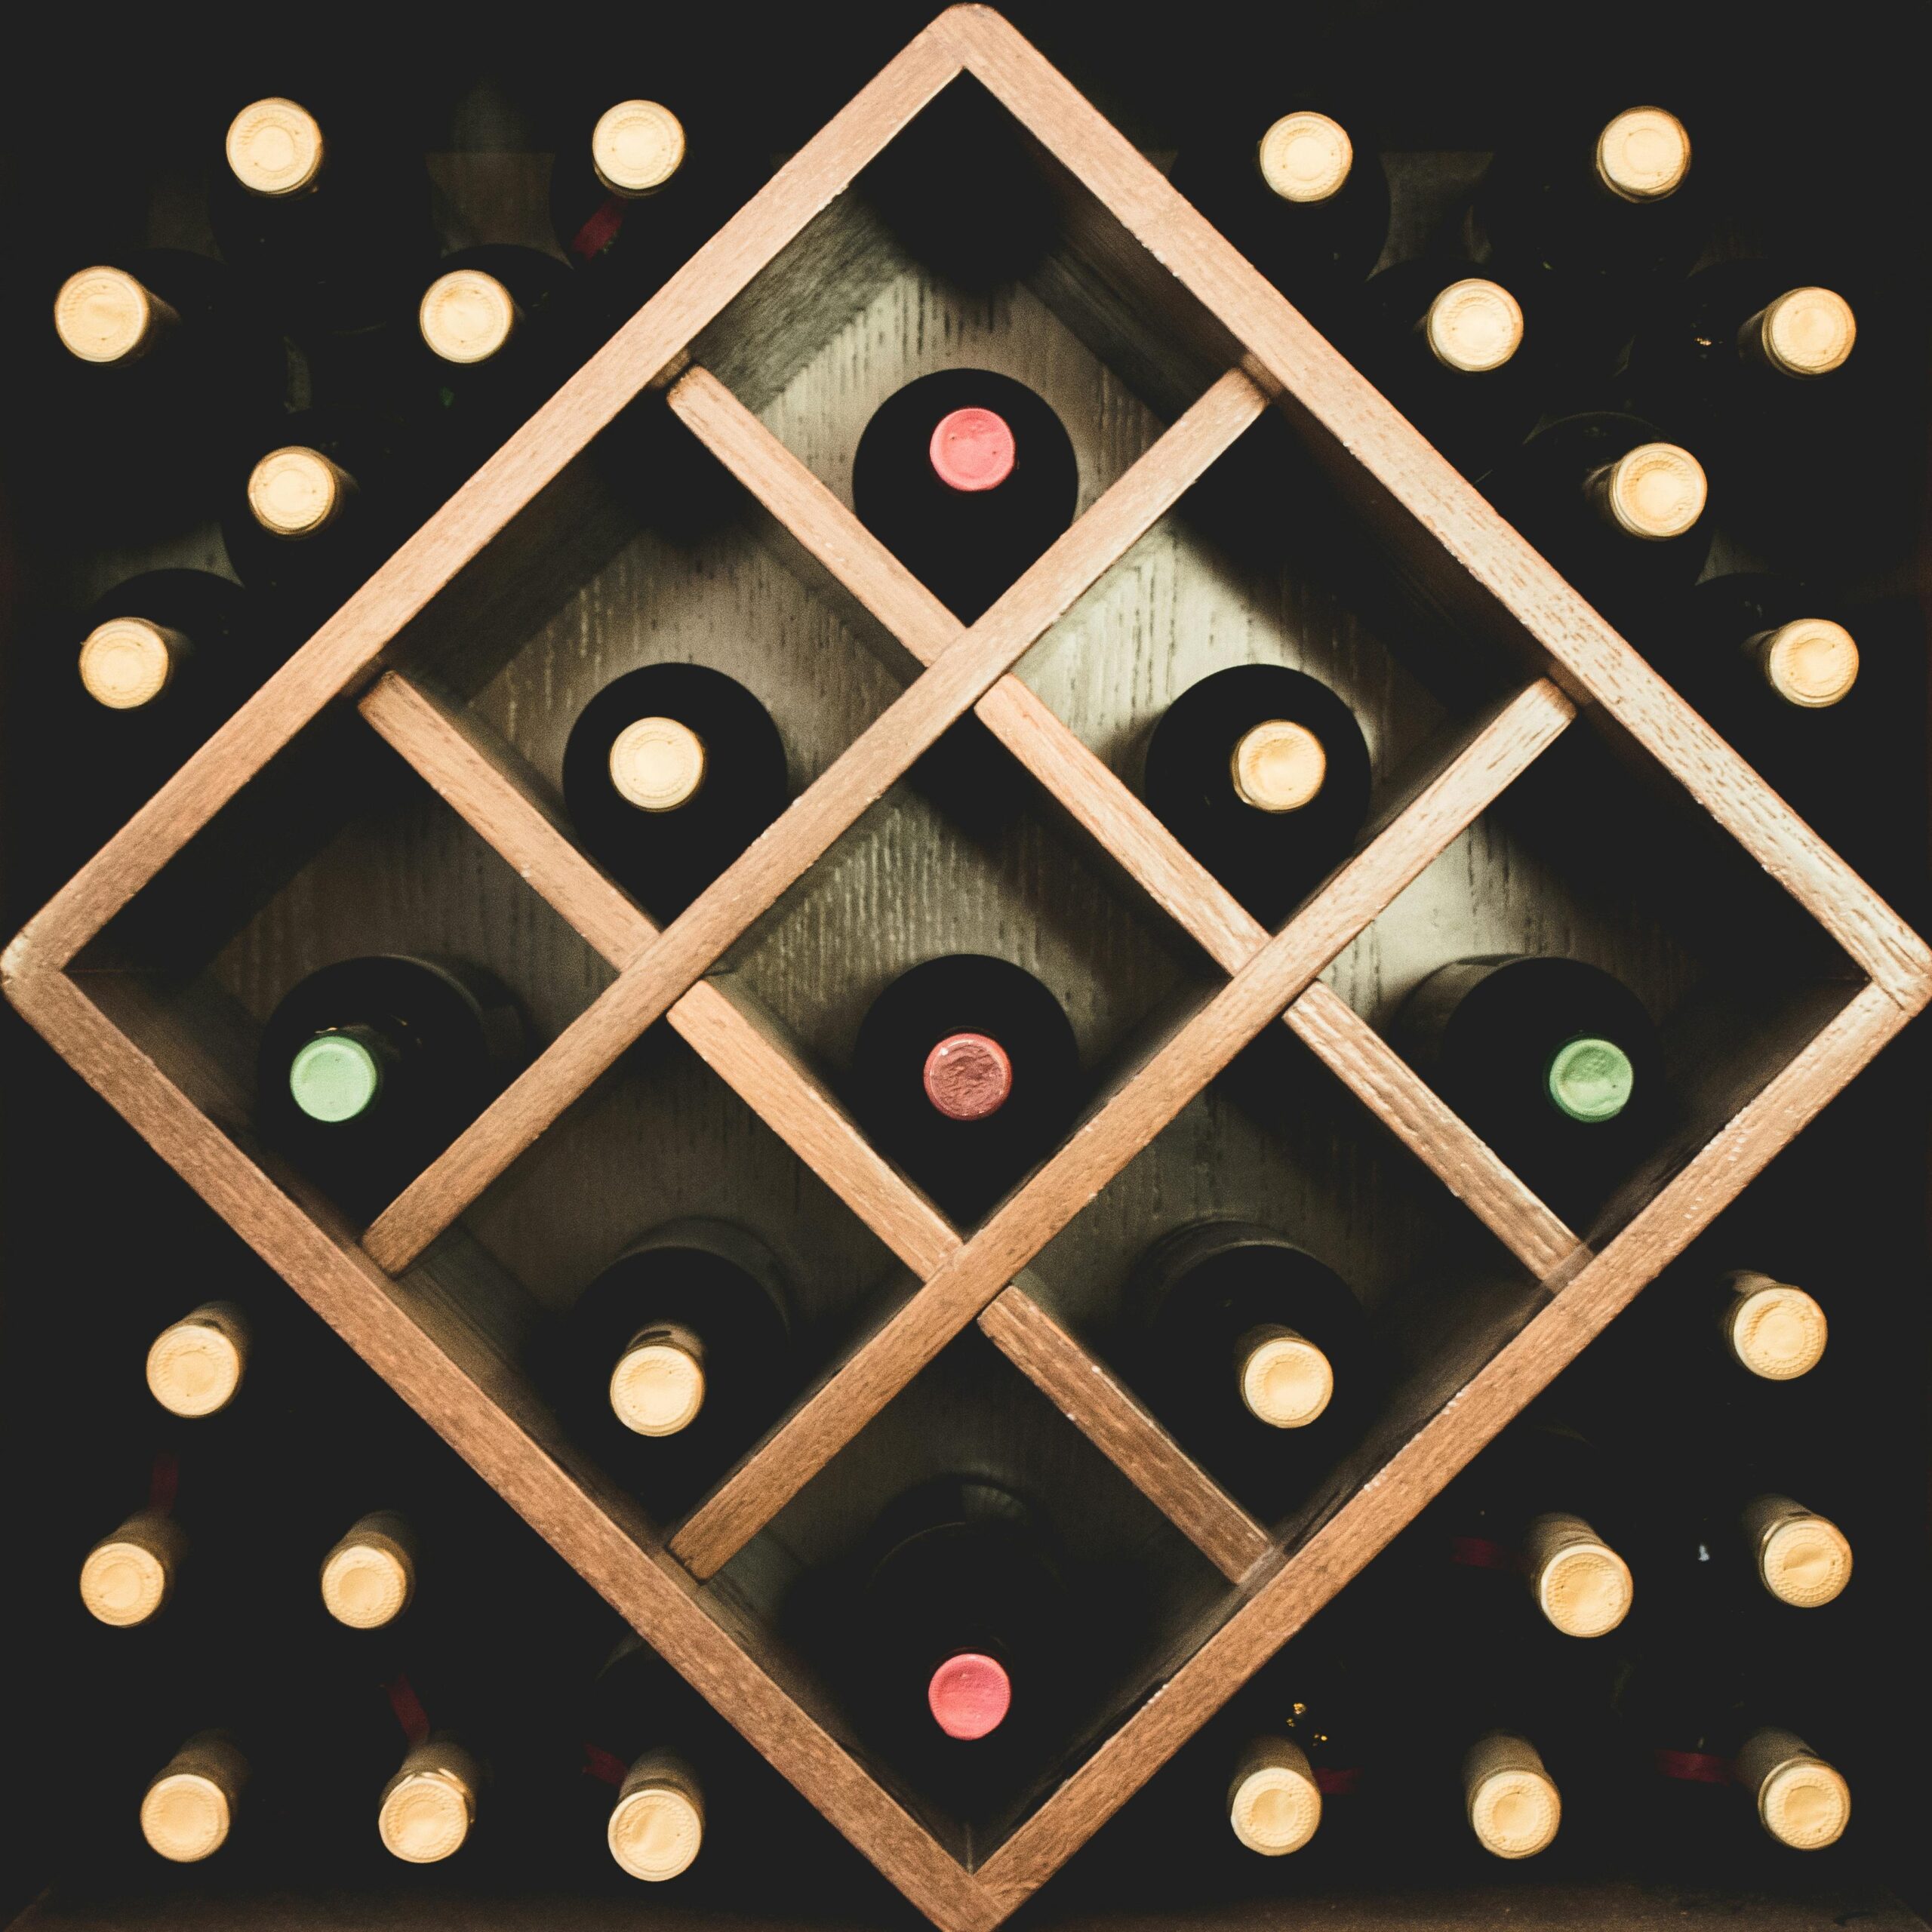
Step 2: Choose Affordable Storage (Skip the Fancy Builds)
You don’t need custom carpentry. Start with racks that are stable, scalable, and easy to expand.
- Modular wood racks for simple, classic storage
- Stackable metal racks for small spaces and flexibility
- DIY builds using reclaimed wood, crates, or basic shelving
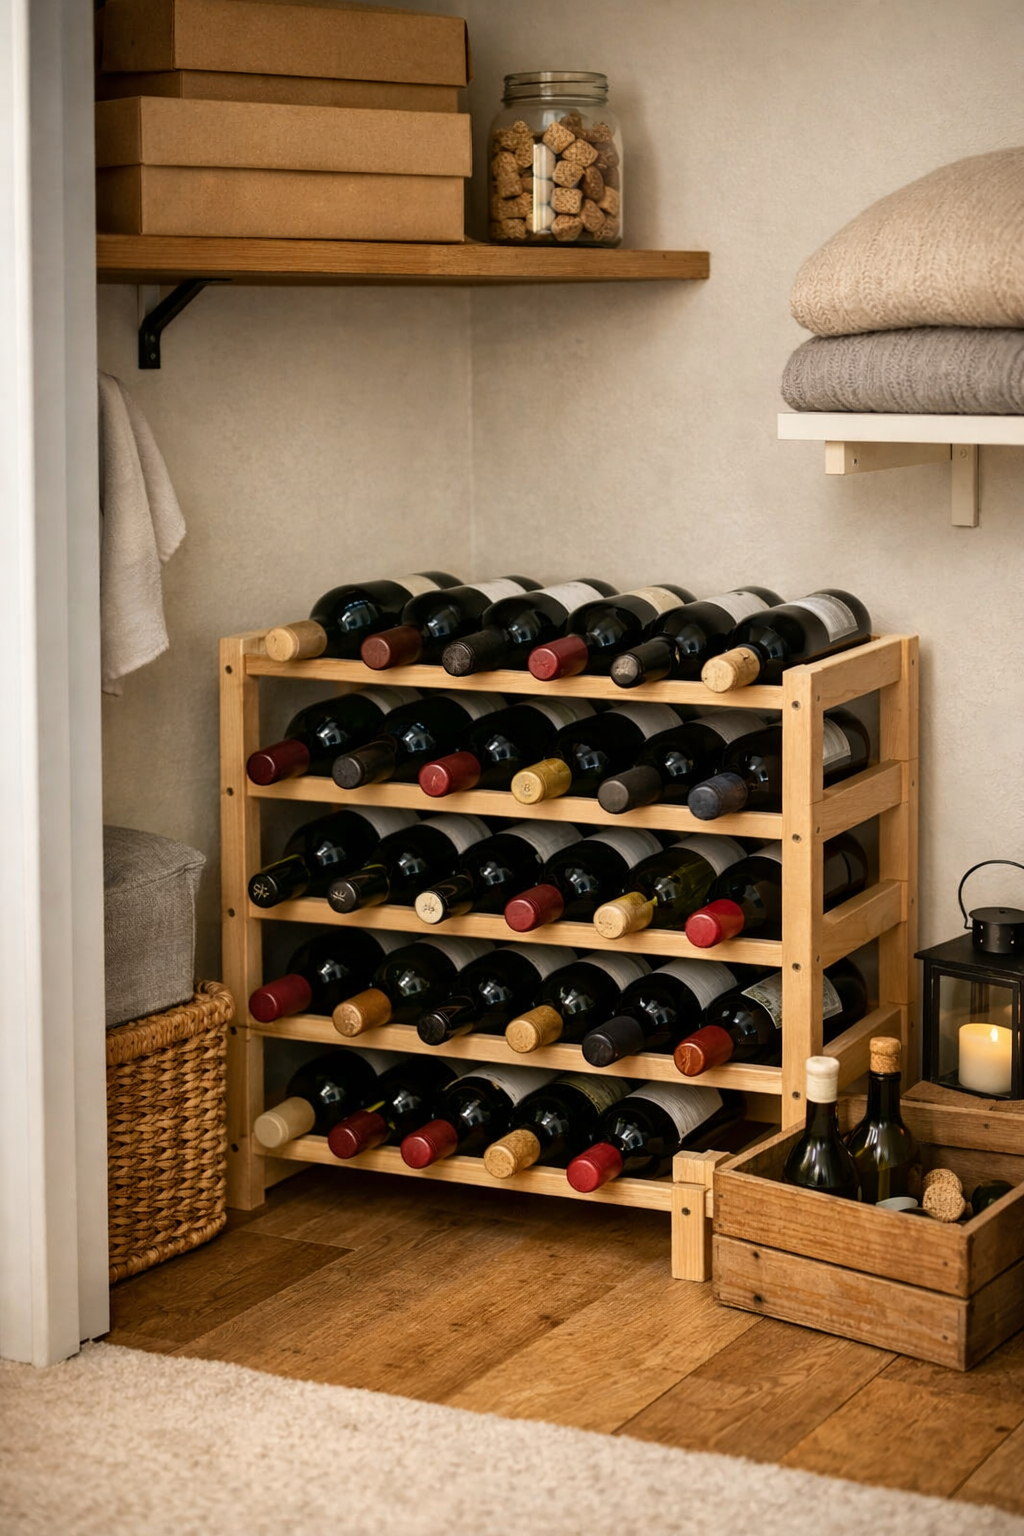
The golden rule: secure storage beats pretty storage. If bottles wobble or roll, you’ll never feel comfortable leaving them alone for long.
Step 3: Control Temperature and Humidity (Cheap, Effective Moves)
If you remember nothing else, avoid heat spikes. Wine doesn’t love drama. It loves calm.
- Seal the space: weather stripping and basic insulation go a long way
- Monitor: a simple thermometer or hygrometer is worth it
- Stabilize: a small fan can reduce hot spots
- Humidity help: if it’s extremely dry, add a small humidifier. If damp, use a dehumidifier
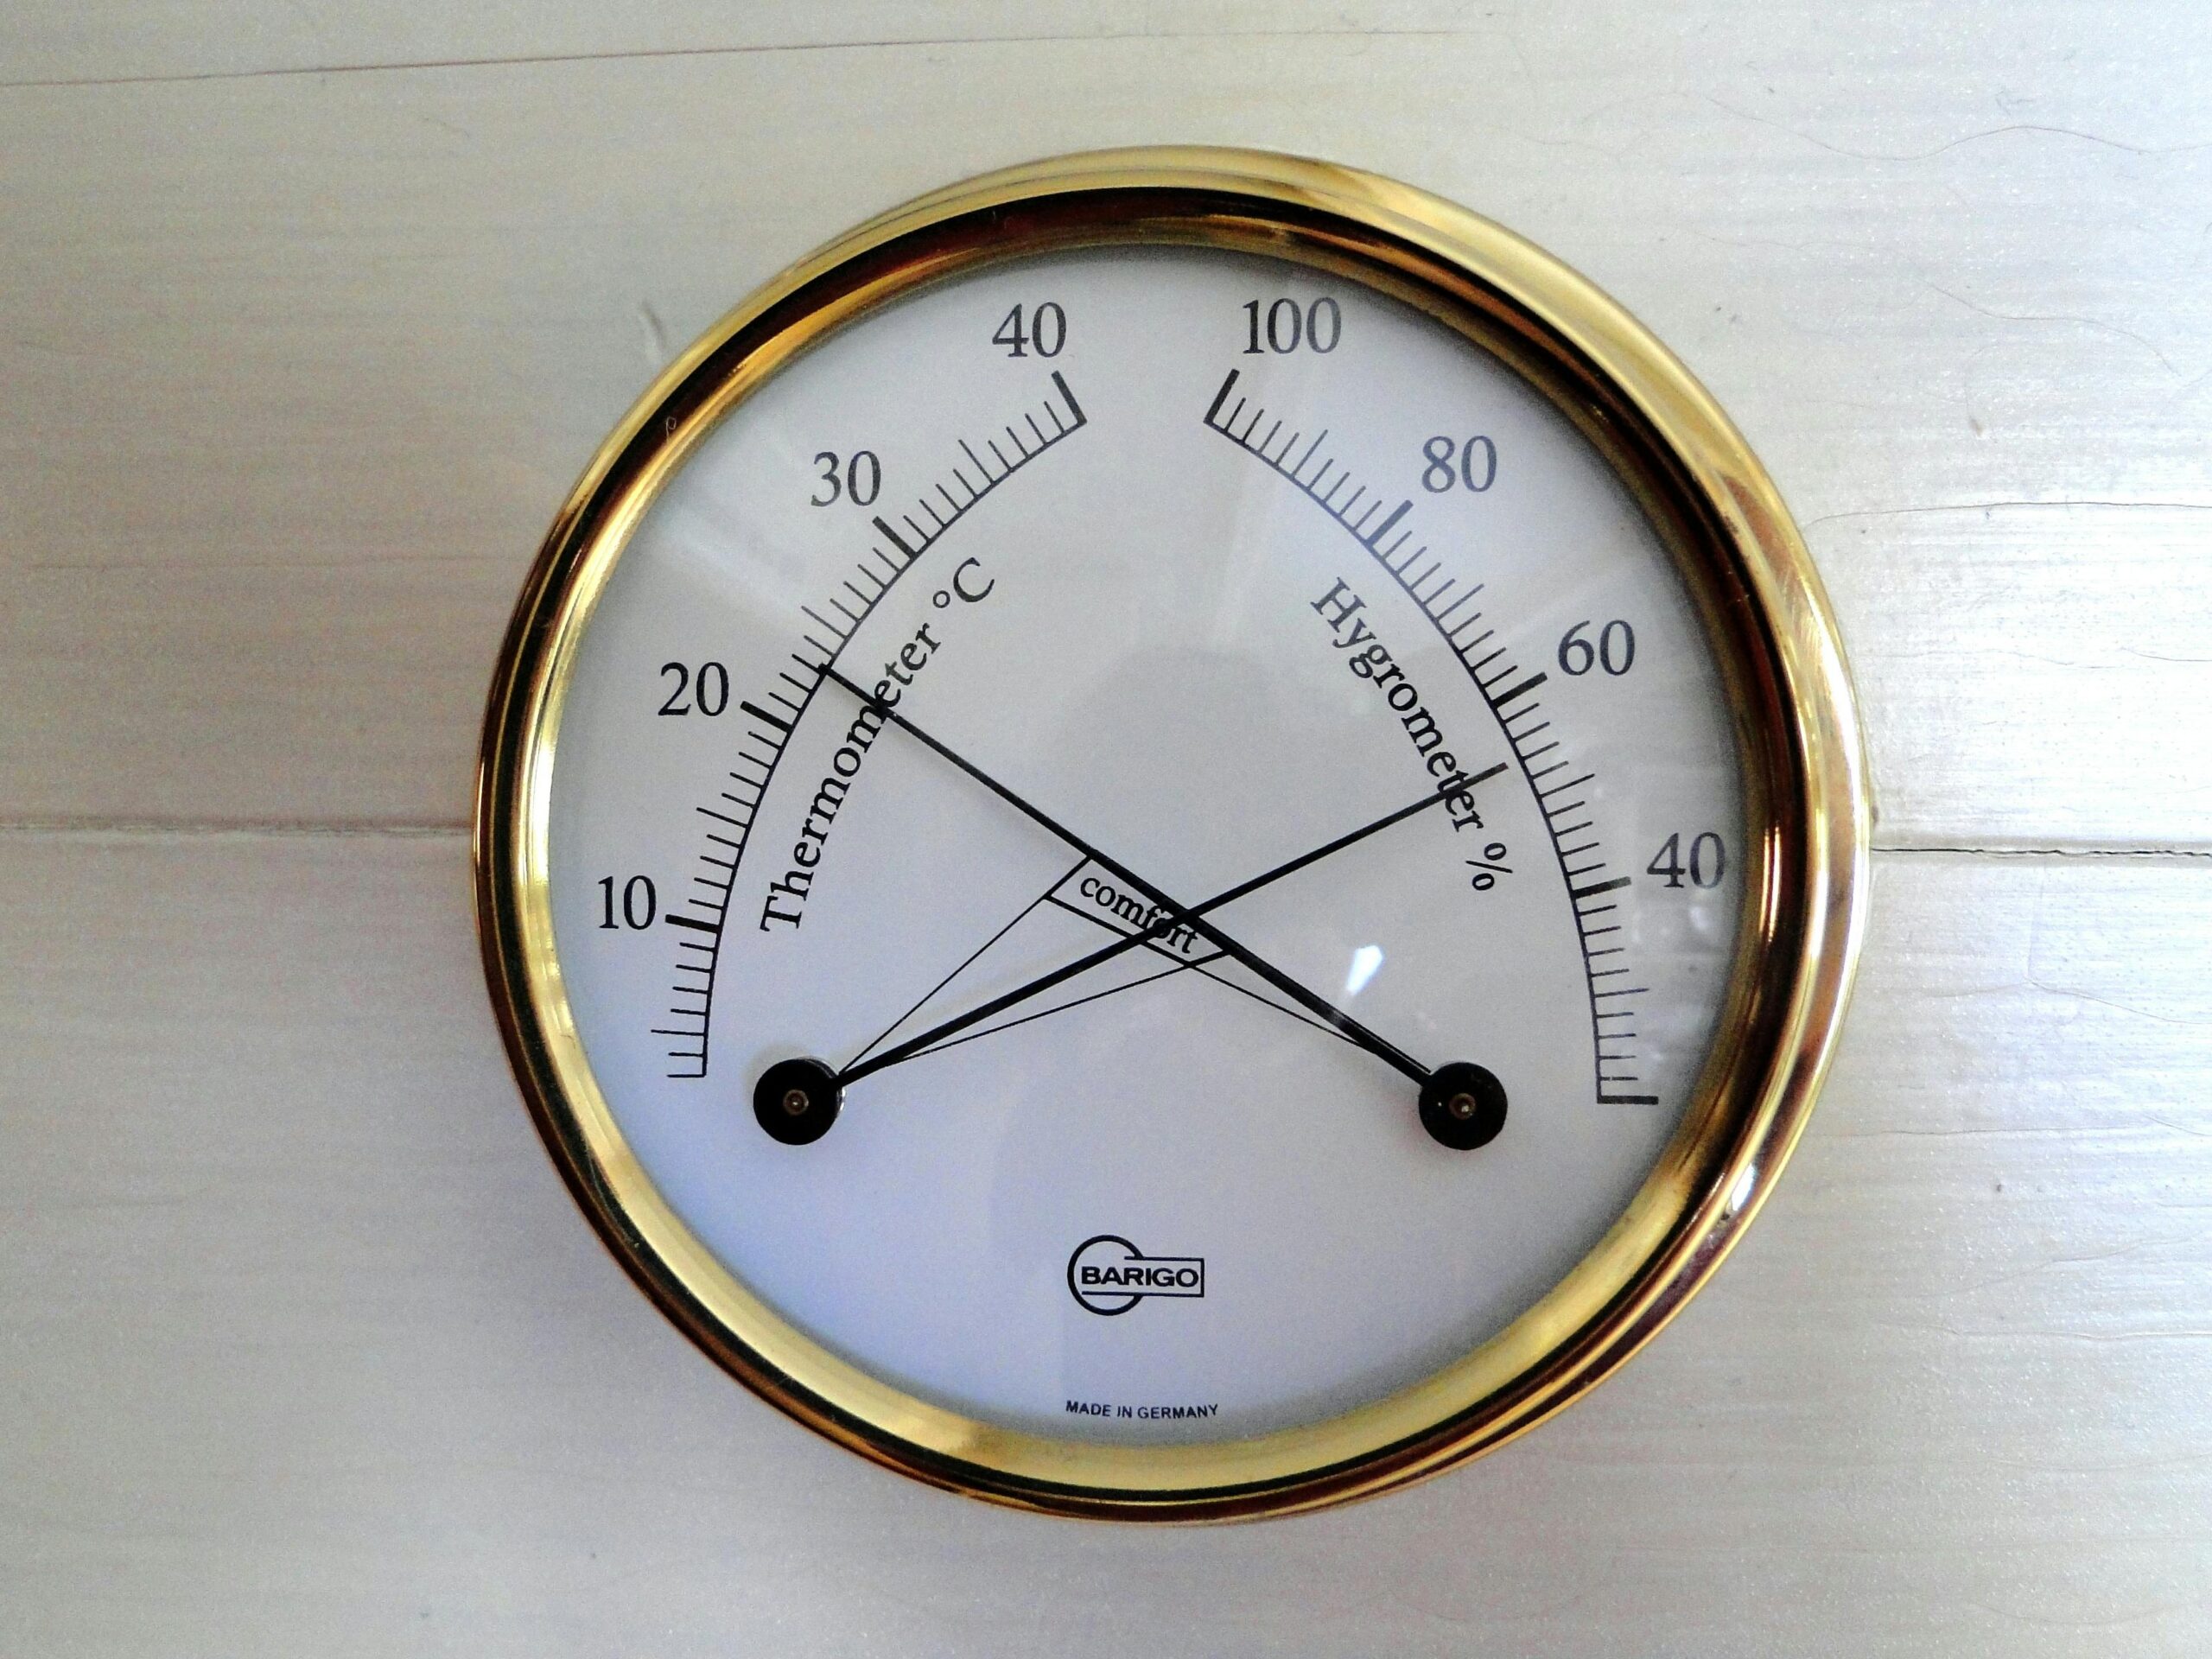
You don’t need perfection. You need fewer swings. Even an interior closet can outperform a garage if the garage runs hot in summer.
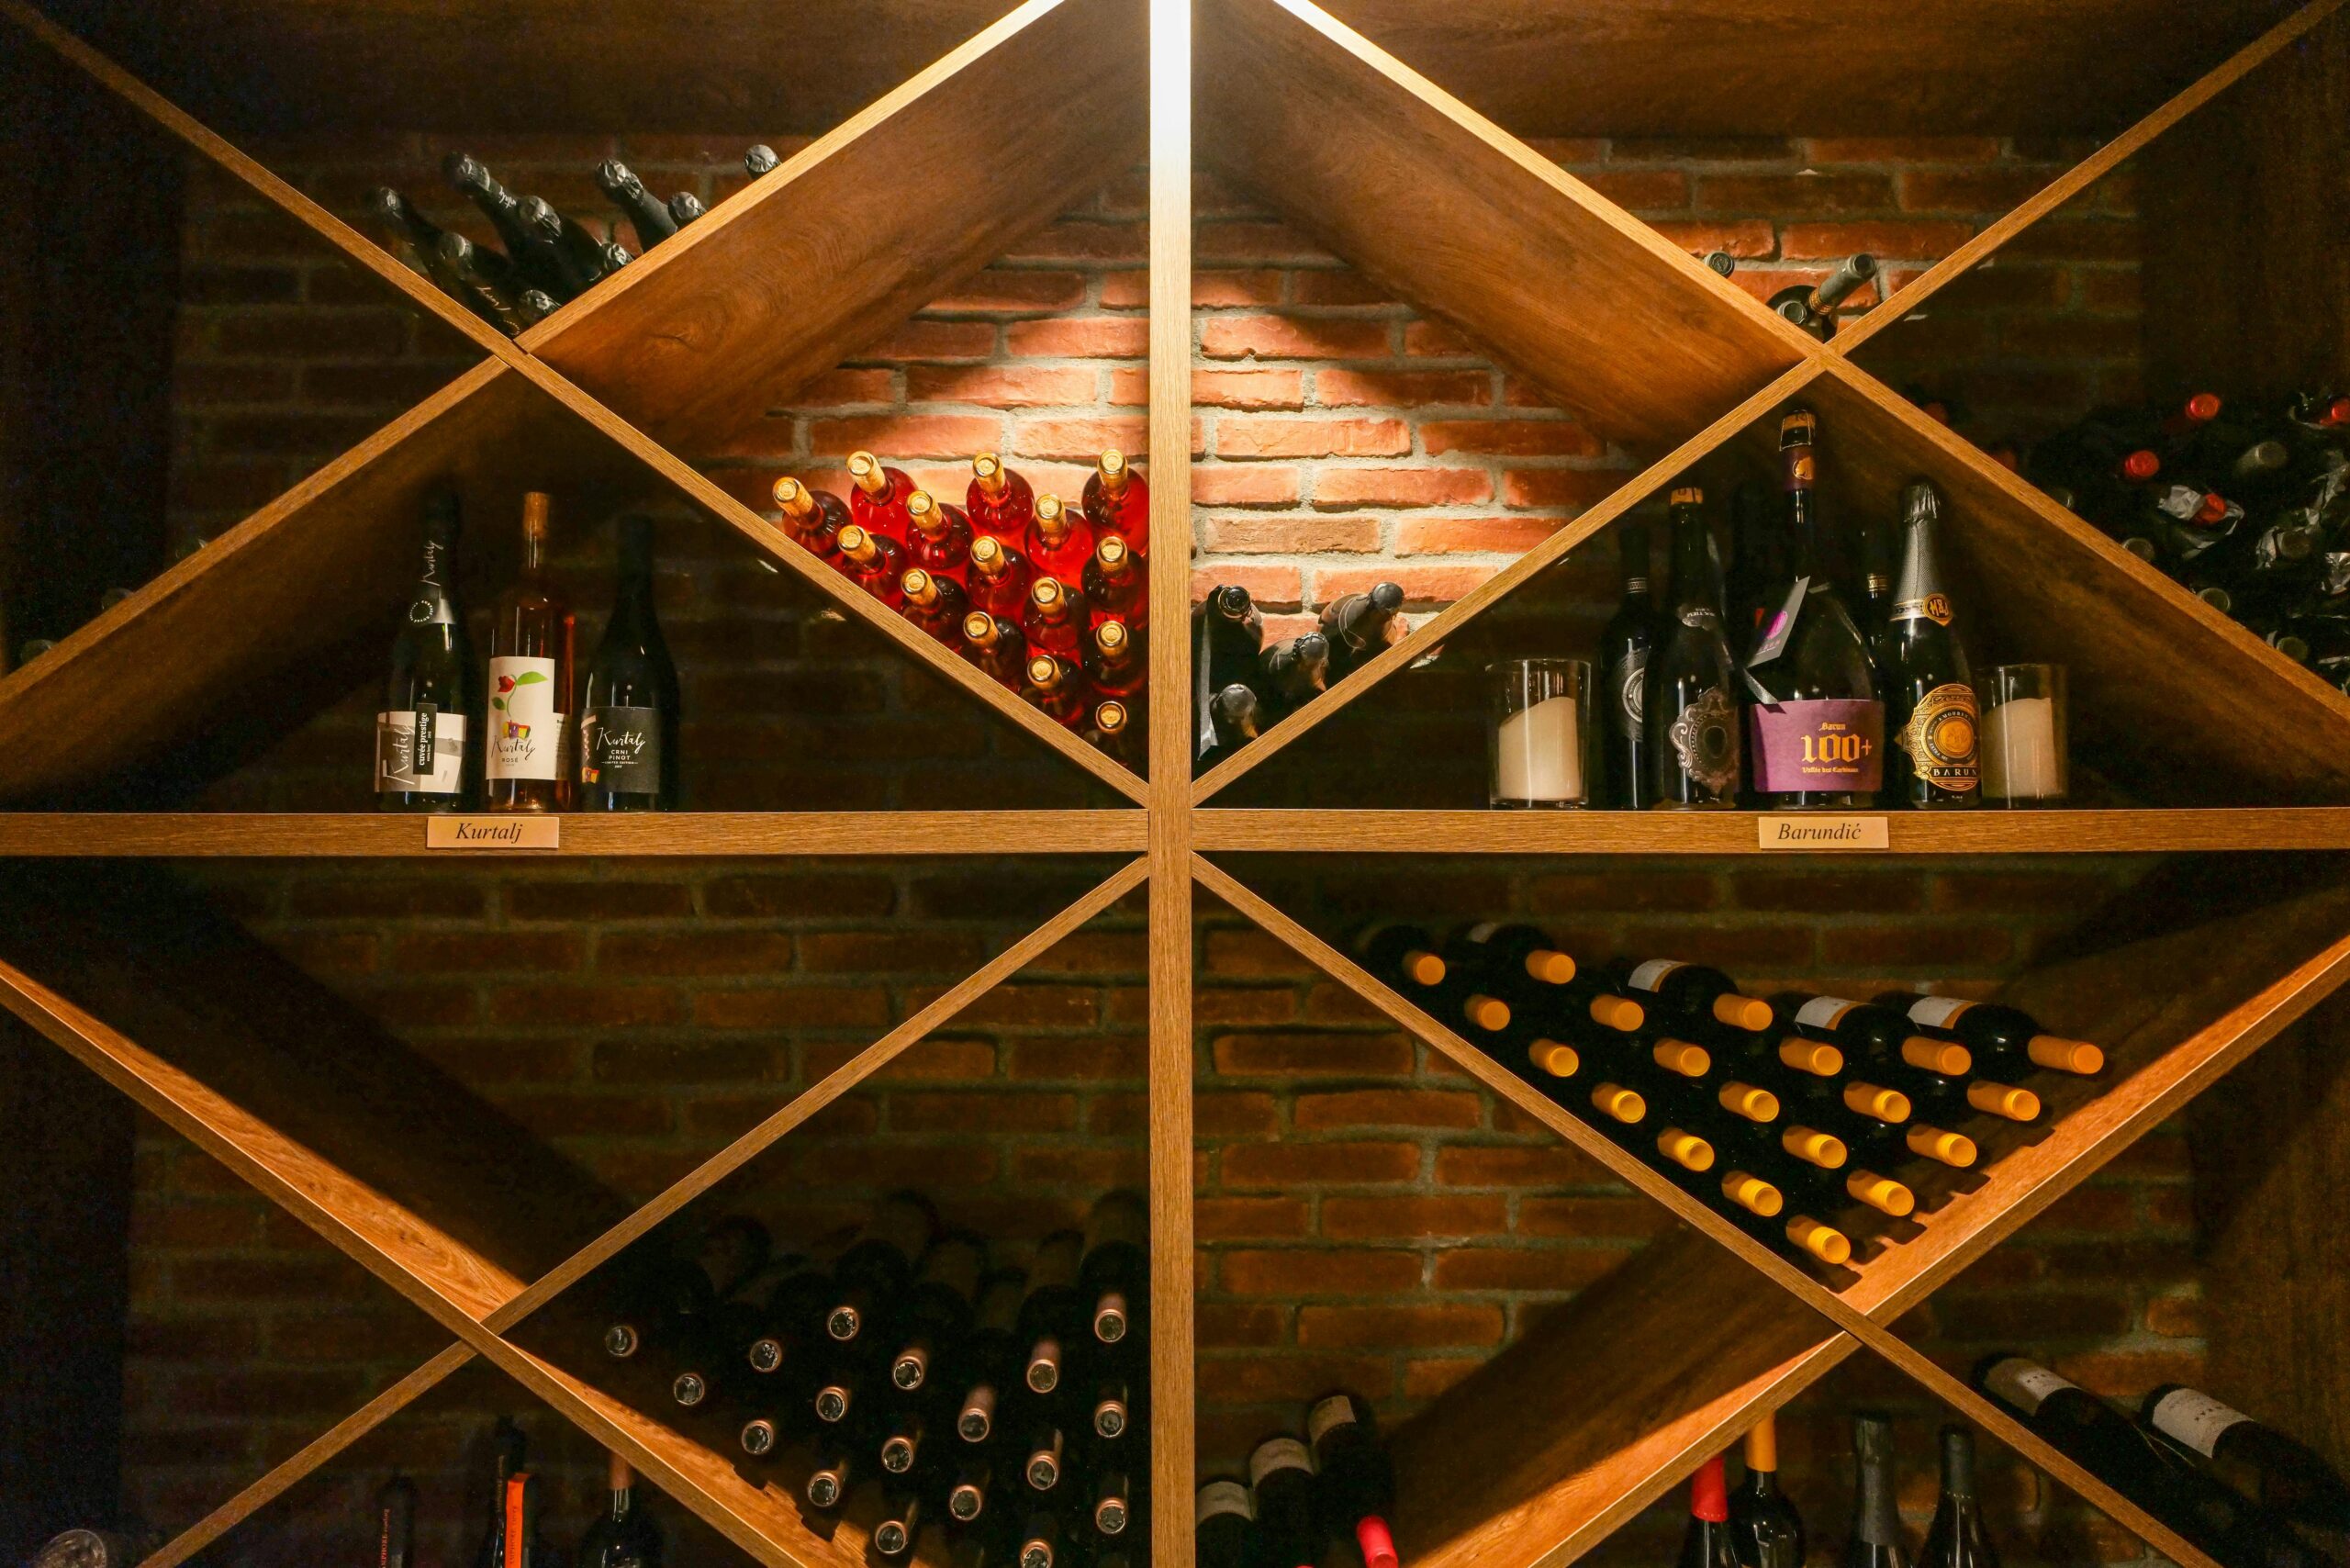
Step 4: Organize Like a Normal Person (Not a Sommelier)
Organization is what turns a pile of bottles into a collection you actually use. Keep it simple.
- Group by style: reds, whites, sparkling, special bottles
- Store corked bottles on their side
- Use basic tags (painter’s tape works) for drink soon vs. hold
- Track only if it helps you (a notes app is enough)
This is also the antidote to the “someday bottle” problem. If you want to eliminate that habit entirely, revisit The Biggest Wine Mistakes Even Smart People Make.
Step 5: Grow in Stages (This Is How Real Cellars Are Built)
Start with a 24-60 bottle setup. Live with it for a month. Then expand based on what you actually drink and how you entertain.
The best part about a budget cellar is that it’s designed for real life. Not for Instagram.
The Bottom Line
A home cellar is just a system that protects your future self.
If your wine is stored safely and consistently, you’ll open bottles more confidently. You’ll feel the quiet satisfaction of having the right bottle when the moment shows up.
If you want your collection to feel approachable and personal, not performative, revisit How to Build a Wine Collection Without Becoming a Snob. That mindset is the real upgrade.
Where to Go Next
Tip: This post performs best when images feel attainable, not aspirational.
Wine isn’t something you master. It’s something you get more comfortable with over time. And the right guidance makes that comfort arrive faster.
Prefer to explore first? See who we trust and why.